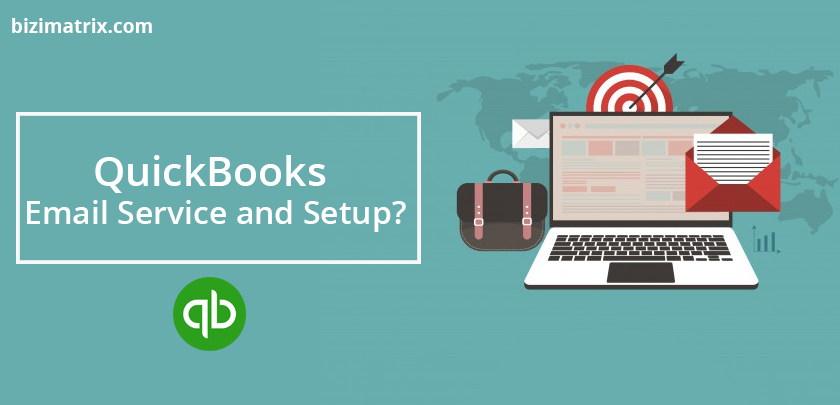
Quickbooks email service and setup are two different things but they are connected on the principle of working co-relation. Setting up an email service in QuickBooks is possible as it boosts the productivity of your business. If you own a small or mid-sized business and want to manage financial transactions, reports, invoices, etc., you will be glad to know that QuickBooks offers a lot more features that can make your business experience much richer and efficient.
QuickBooks makes it easier for business owners to send data to your employees, vendors, and customers via email. It just requires a few simple steps in order for you to get started with the service. QuickBooks email service supports email clients such as Outlook Express as well as your regular webmail service (Gmail, Yahoo Mail, AOL, Outlook.com, Hotmail, etc.).
Benefits of Having QuickBooks Email Service
QuickBooks email service includes several benefits that can not only help you achieve tasks easily, the service lets you grow your business exponentially. For the solution of your issue how to set up email in quickbooks we are providing solutions with the technical team, dial Our QBs support number.
- Integrates email client into QuickBooks
- Supports webmail to send data
- Easily send transactions, invoice, reports, etc.
How To Setup QuickBooks Email Service On QuickBooks Desktop
The steps given below can be followed in order to set up QuickBooks email service on QuickBooks Desktop and start using it immediately.
Before you set up QuickBooks email service on QuickBooks Desktop, there are certain important things that you must take into consideration.
(a) Make sure you have an active email account with any email service provider (Gmail, Yahoo Mail, AOL, Outlook.com, Hotmail, etc.). If not, then it is advised that you create an email account before you set up QuickBooks email service on QuickBooks Desktop.
(b) Make sure you have an email client software such as Outlook Express installed on your computer unless you are using webmail.
(c) In order to use Outlook with QuickBooks, you must create an Outlook.com email profile, if you have not created it already.
(d) You will need your email accounts configuration information like username, password, incoming mail server address, incoming email server type, and outgoing email server address. These can be obtained from your ISP (Internet Service Provider).
Follow the on-screen instructions to complete your email setup in Outlook.
Note: In case your QuickBooks Desktop does not show Outlook in the list of options, do the following:
- Click the Edit menu in QuickBooks, choose Preferences, then select Send Forms.
- Select Outlook, then click the OK button.
You should now be able to see Outlook in the options on your QuickBooks Desktop accounting software.
Quickbooks won’t email invoices, install outlook client on quickbooks & couldn’t connect to email server in such condition it is difficult to resolve the issues. We are here to help you technically, connect with us by dialing our Support number of Quickbooks.
Set Up Secure Webmail In QuickBooks Desktop
In the later versions of QuickBooks Desktop, users are provided with Secure Webmail for an easier and safer connection to the email provider. In contrast to the regular webmail, Secure Webmail works by linking your Intuit account to your webmail account. Once linked, you don’t have to be bothered by the repeated password prompt whenever you send an email. Thus, this saves you from the annoyance.
Given below are the versions of QuickBooks Desktop that can be used with Secure Webmail:
- QuickBooks 2019 – Supports Gmail, Yahoo Mail, Windows Mail, Hotmail and AOL (with Mozilla Thunderbird email client).
- For QuickBooks 2018 – Supports Gmail and Hotmail/Windows Live.
- QuickBooks 2017 R5 and newer – Supports Gmail.
- QuickBooks 2017 R4 and older – Does not support Secure Webmail.
The Quickbooks email setup office 365, is technically not difficult if you have information about that, for best solution contact to our profesnally trend Quickbooks support team.
How To Setup Secure Webmail In QuickBooks Desktop
The steps given below will allow you to set up Secure Webmail in QuickBooks Desktop:
Steps:
- Click Edit from QuickBooks menu, choose Preferences, then select Send Forms.
- Select Webmail from the options, then click Add.
- Choose your email service provider and enter your email address correctly.
- Be sure to tick the Use Enhanced Security check box, then click OK.
Note: In case you happen to receive “Network error. Please try again” error message, simply uncheck Use Enhanced Security.
- When prompted, sign in to your Intuit account.
Note: The username or email address that you use here may not necessarily be the same as the one you are connecting to your QuickBooks Desktop.
- Your webmail provider’s Sign In/login page will be displayed. Sign in to your account and grant Intuit access to your webmail account in order to send data from QuickBooks Desktop.
Points to remember:
(a) When you add Secure Webmail to your QuickBooks company file, you will be required to set up a rather complex password for your company file.
(b) On hosted environments such as Right Networks, you may still be asked to sign in to your webmail provider when you send emails through QuickBooks Desktop, even if you see Secure Webmail.
How To Setup Webmail In QuickBooks Desktop
It is highly recommended that you verify your email server and port information with your ISP before starting to set up webmail in QuickBooks Desktop
(a) Email server and port settings are determined by your ISP.
(b) QuickBooks Desktop can automatically fill out the information.
(c) If you use a different email provider, follow the steps given below in order to search for network port details.
Steps:
- Click Edit from the QuickBooks menu, select Preferences, then click Send Forms.
- Select WebMail, then click Add.
- Fill up the required details in Add Email Info, then click OK.
- Click OK again to save the changes.
Points to remember:
(a) Unlike Secure Webmail, QuickBooks Desktop will prompt you to enter your password the first time you send an email using webmail.
(b) If QuickBooks Desktop fails to accept your password, you need to check if you have enabled two-step verification for your webmail login.
Read More…